Writing Python packages and deploying them to PyPI is one way of sharing libraries to the open-source community. For beginners, submitting a package to PyPI is not an easy task. This blog guides you through the complete process including testing and continuous integration and deployment (CI/CD).
Register first!
As a potential open-source software contributor, you need to create the following accounts.
PyPI
PyPi is the main package repository for Python. Register at https://pypi.org/.
Test PyPI
Test PyPI let's you deploy test packages before deploying them to PyPi. Register at https://test.pypi.org/.
Github
Github is a code repository. You should already be familiar with git. Create an account at https://github.com/. You may choose other git repositories like BitBucket but they will not be covered on this blog.
Travis CI
Travis CI let's you test software on different platforms. It is a full-pledged continuous integration and deployment (CI/CD) platform. Register at https://travis-ci.org/ using your Github account. You may choose to use other CI/CD platforms but they will not be covered on this blog.
CodeCov
CoveCov provides visualization for code coverage which helps you find untested code. Register at https://codecov.io/gh using your Github account.
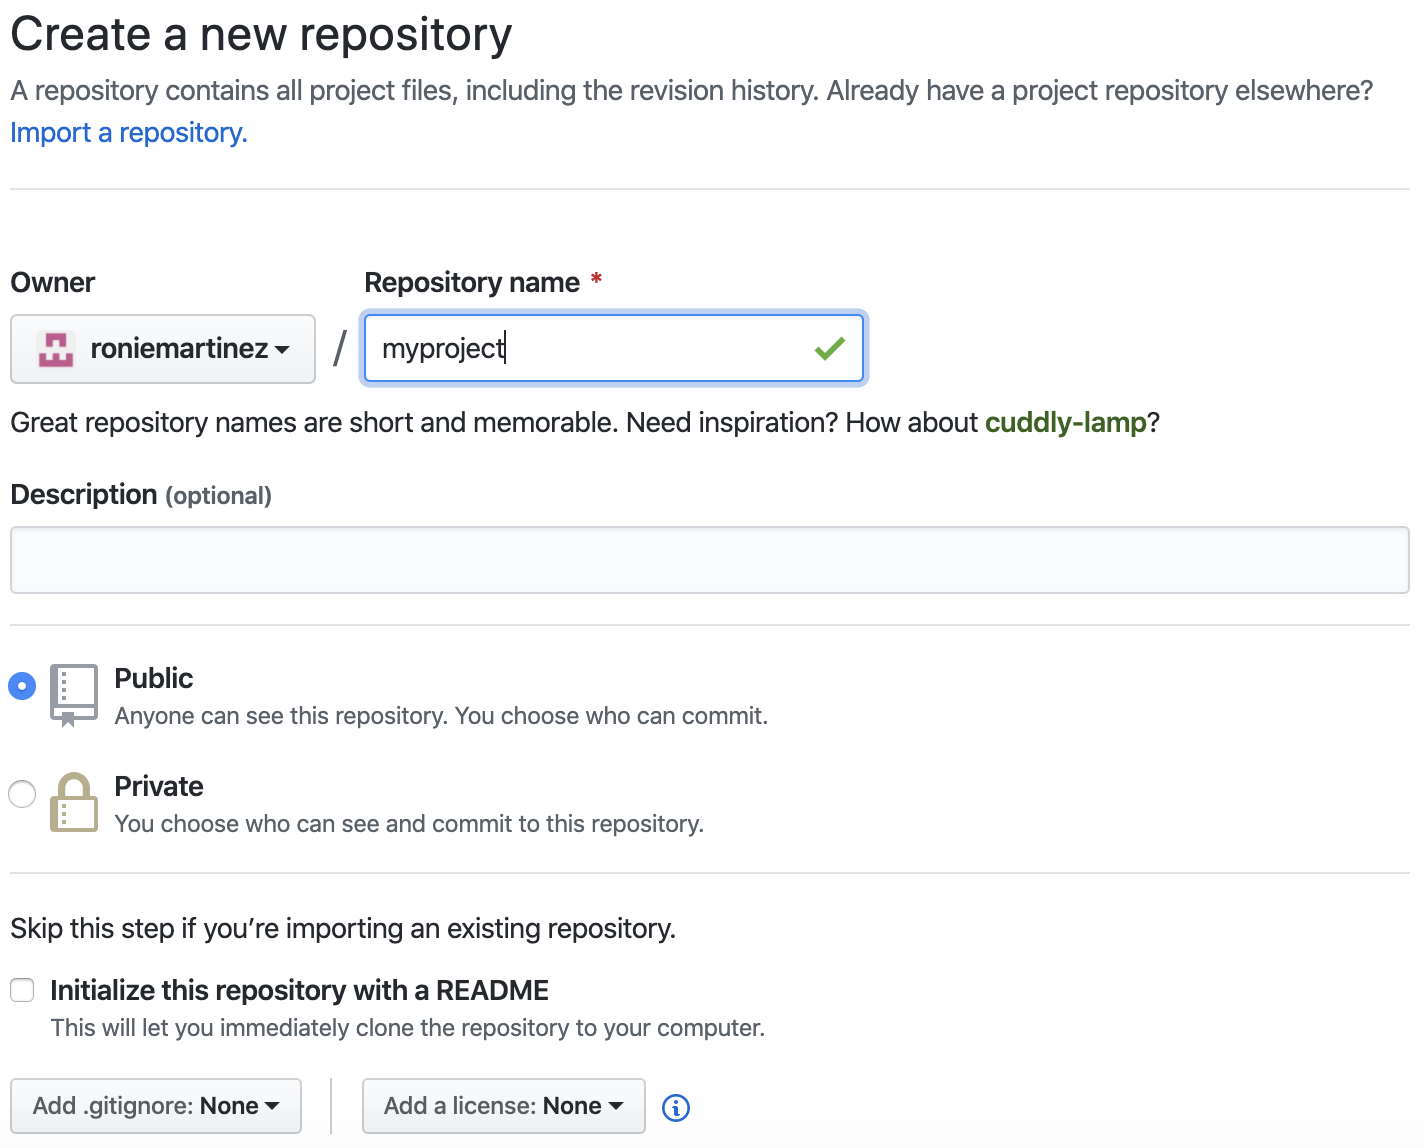
Create a Github project
Go to https://github.com/new and create a project. Notice that I have enabled Initialize this repository with a README, used MIT License and integrated Travis CI.
Clone your repository
git clone git@github.com:roniemartinez/amortization.git
git checkout -b staging
Write your package
We will use our example from my previous blog, Calculating Amortization with Python. Below is the improved version (amortization.py). I have added a main() function to use our package from command line after installation using pip.
def calculate_amortization_amount(principal, interest_rate, period):
    """
    Calculates Amortization Amount per period

    :param principal: Principal amount
    :param interest_rate: Interest rate per period
    :param period: Total number of periods
    :return: Amortization amount per period
    """
    x = (1 + interest_rate) ** period
    return principal * (interest_rate * x) / (x - 1)


def amortization_schedule(principal, interest_rate, period):
    """
    Generates amortization schedule

    :param principal: Principal amount
    :param interest_rate: Interest rate per period
    :param period: Total number of periods
    :return: Rows containing period, interest, principal, balance, etc
    """
    amortization_amount = calculate_amortization_amount(principal, interest_rate, period)
    number = 1
    balance = principal
    while number <= period:
        interest = balance * interest_rate
        principal = amortization_amount - interest
        balance -= principal
        yield number, amortization_amount, interest, principal, balance if balance > 0 else 0
        number += 1


def main():  # pragma: no cover
    import argparse
    from tabulate import tabulate

    parser = argparse.ArgumentParser(
        description='Python library for calculating amortizations and generating amortization schedules')
    # required parameters
    required = parser.add_argument_group('required arguments')
    required.add_argument('-P', '--principal', dest='principal', type=float, required=True, help='Principal amount')
    required.add_argument('-n', '--period', dest='period', type=int, required=True, help='Total number of periods')
    required.add_argument('-r', '--interest-rate', dest='interest_rate', type=float, required=True,
                          help='Interest rate per period')
    # optional parameters
    parser.add_argument('-s', '--schedule', dest='schedule', default=False, action='store_true',
                        help='Generate amortization schedule')
    arguments = parser.parse_args()
    if arguments.schedule:
        table = (x for x in amortization_schedule(arguments.principal, arguments.interest_rate, arguments.period))
        print(
            tabulate(
                table,
                headers=["Number", "Amount", "Interest", "Principal", "Balance"],
                floatfmt=",.2f",
                numalign="right"
            )
        )
    else:
        amount = calculate_amortization_amount(arguments.principal, arguments.interest_rate, arguments.period)
        print("Amortization amount: {:,.2f}".format(amount))


if __name__ == '__main__':   # pragma: no cover
    main()
Write a setup.py
setup.py contains all the definitions related to our package.
from setuptools import setup

VERSION = '0.1.0'

setup(
    name='amortization',
    version=VERSION,
    py_modules=['amortization'],
    url='https://github.com/roniemartinez/amortization',
    download_url='https://github.com/roniemartinez/amortization/tarball/{}'.format(VERSION),
    license='MIT',
    author='Ronie Martinez',
    author_email='ronmarti18@gmail.com',
    description='Python library for calculating amortizations and generating amortization schedules',
    long_description=open('README.md').read(),
    long_description_content_type='text/markdown',
    install_requires=['tabulate==0.8.3'],
    entry_points={
        'console_scripts': ['amortization=amortization:main'],
    },
    classifiers=[
        'Development Status :: 4 - Beta',
        'License :: OSI Approved :: MIT License',
        'Topic :: Office/Business :: Financial',
        'Topic :: Scientific/Engineering :: Mathematics',
        'Topic :: Software Development :: Libraries :: Python Modules',
        'Programming Language :: Python :: 2',
        'Programming Language :: Python :: 2.7',
        'Programming Language :: Python :: 3',
        'Programming Language :: Python :: 3.5',
        'Programming Language :: Python :: 3.6',
        'Programming Language :: Python :: 3.7',
        'Programming Language :: Python :: Implementation :: CPython'
    ]
)
Here are the definitions:
name - name of library
version - version of library
py_modules - list of Python modules (.py) to include in our package. Use packages if we are including directory modules
url - package link, use Github repository link
download_url - link to download package aside from PyPI, use Github releases link
license - license of library
author - name of author
author_email - email of author
description - short description of library
long_description - long description of library, use README
long_description_content_type - tells PyPI the format of long description
install_requires - third party libraries needed
entry_points - used to define scripts
classifiers - this is use to classify our package, see https://pypi.org/pypi?%3Aaction=list_classifiers
Bonus: Write a setup.cfg
This is used to include other files to the resulting package and to define universal wheel.
[metadata]
description-file=README.md
license_files=LICENSE

[bdist_wheel]
universal = 1
Upload using twine
To install twine, run the following command:
pip install twineSave your PyPI credentials
NOTE: Saving your credentials in plain text is not safe. Do not share them anywhere.
Save the following to $HOME/.pypirc:
[distutils]
index-servers=
    pypi
    testpypi

[pypi]
username=<username>
password=<password>

[testpypi]
repository=https://test.pypi.org/legacy/
username=<username>
password=<password>
Build your package
To build your package, run the following command
python setup.py sdist bdist_wheelThe following packages will be created. The first package amortization-<version>.tar.gz is the source distribution. The last package is a wheel distribution.
amortization-<version>.tar.gz
amortization-<version>-py2.py3-none-any.whl
Uploading
To upload, run the following command:
twine upload --repository testpypi dist/*  # uploads to Test PyPI
twine upload --repository pypi dist/*      # uploads to PyPI
Do not deploy untested code!
Writing code is one thing, deploying libraries for everyone is a different thing. You must test first before deployment. Below is the complete guide to automated testing and deployment.
Write your tests
We will use pytest package for testing. To install pytest, run the following command:
pip install pytestFirst step is to create an empty conftest.py in the same directory where amortization.py is located. This will help pytest find our module. Create tests directory and write test_amortization.py containing the required tests.
from amortization import calculate_amortization_amount, amortization_schedule


def test_amortization_amount():
    principal = 150000
    period = 36
    interest_rate = 0.1
    amortization = principal * (interest_rate * (1 + interest_rate) ** period)/((1 + interest_rate) ** period - 1)
    assert calculate_amortization_amount(principal, interest_rate, period) == amortization


def test_amortization_schedule():
    principal = 150000
    period = 36
    interest_rate = 0.1

    amortization_amount = calculate_amortization_amount(principal, interest_rate, period)

    number = 1
    balance = principal

    for n, a, i, p, b in amortization_schedule(principal, interest_rate, period):
        interest = balance * interest_rate
        principal = amortization_amount - interest
        balance -= principal

        assert number == n
        assert amortization_amount == a
        assert interest == i
        assert principal == p
        assert balance == b

        number += 1
Running tests locally
To run tests, execute the following command.
pytestIntegrating with Travis CI
To define the jobs for Travis, write .travis.yml file. We will be testing on 4 different Python versions, 2.7, 3.5, 3.6, and 3.7. For managing dependencies, we will be using pipenv. See this Pipfile for the modules to be installed. We cannot deploy to PyPI on all these platforms, we will select 3.6 for deployment.
language: python
cache: pip
python:
- 2.7
- 3.5
- 3.6
matrix:
include:
- python: 3.7
dist: xenial
sudo: true
branches:
except:
- /^[0-9]+\.[0-9]+\.[0-9]+/
install:
- pip install pipenv
- pipenv install --dev --skip-lock
script:
pipenv run pytest --cov=amortization --cov-report=xml -v
after_success:
pipenv run codecov
deploy:
provider: pypi
user: $TEST_PYPI_USER
password: $TEST_PYPI_PASS
server: https://test.pypi.org/legacy/
distributions: "sdist bdist_wheel"
on:
branch: staging
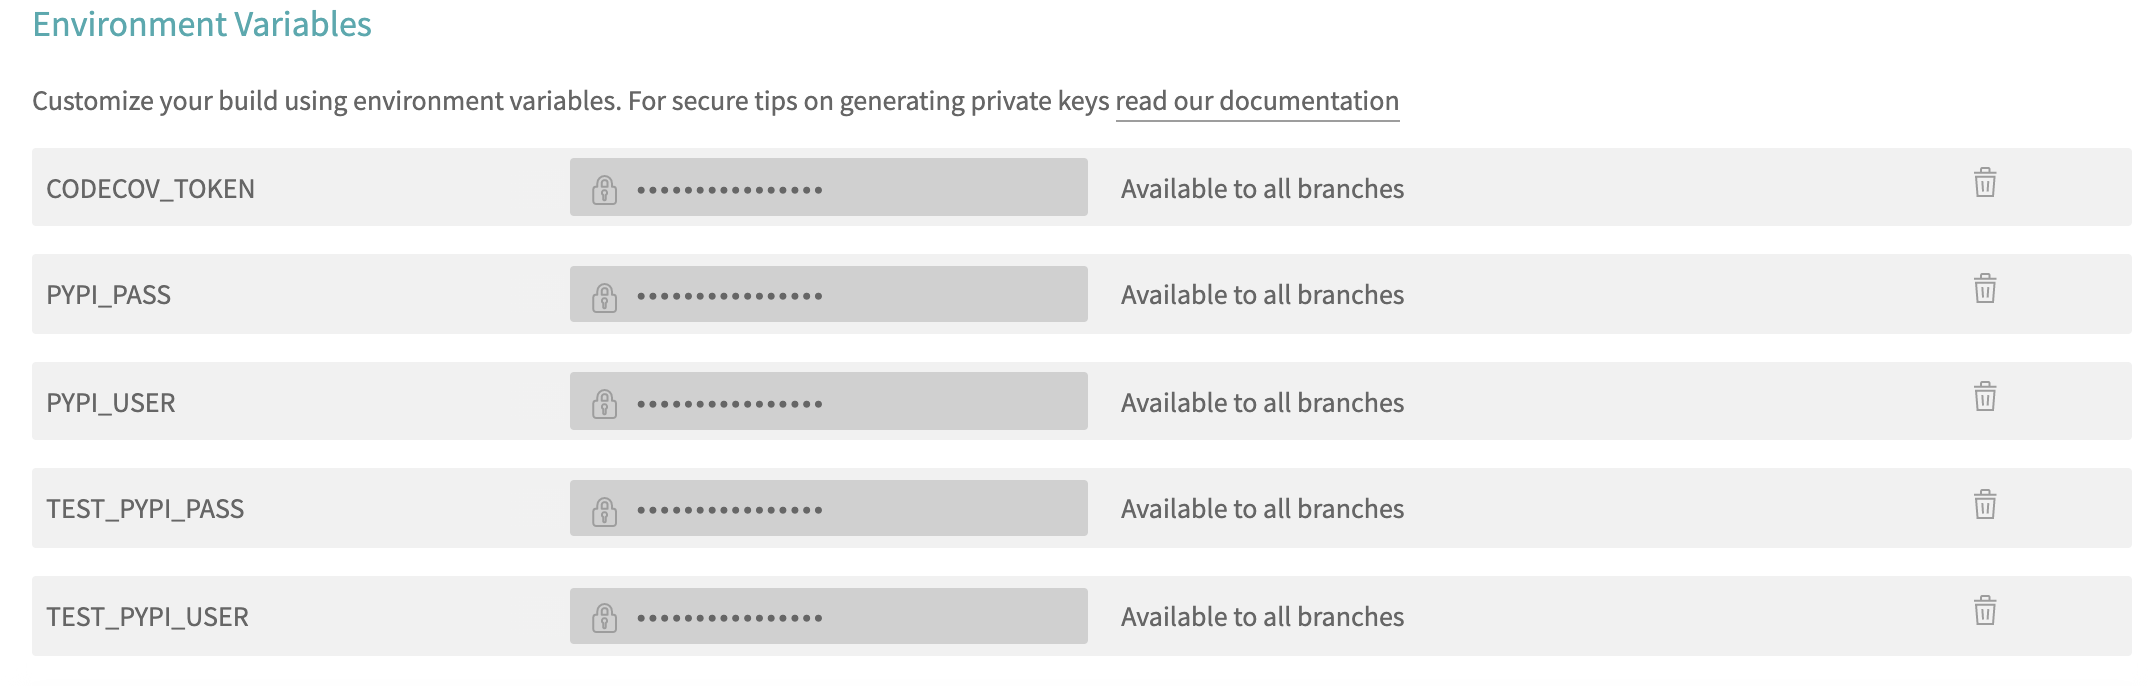
condition: $TRAVIS_PYTHON_VERSION = "3.6"Notice the variables, $TEST_PYPI_USER and $TEST_PYPI_PASS. Travis CI supports deployment to PyPI, however, it is not safe to save the credentials to our code repository. We will need to save the credentials to Travis Environment Variables. Go to https://travis-ci.org/<owner>/<repository>/settings.
As our .travis.yml was only written for staging branch and to be deployed to Test PyPI, we need to modify it to work with master branch. From master branch, we will deploy to PyPI.
deploy:
  provider: pypi
  user: $PYPI_USER
  password: $PYPI_PASS
  distributions: "sdist bdist_wheel"
  on:
    branch: master
    condition: $TRAVIS_PYTHON_VERSION = "3.6"
Add project to CodeCov
To visualize code coverage, add Github project to CodeCov and obtain an upload token. Add CODECOV_TOKEN to Travis Environment Variables.
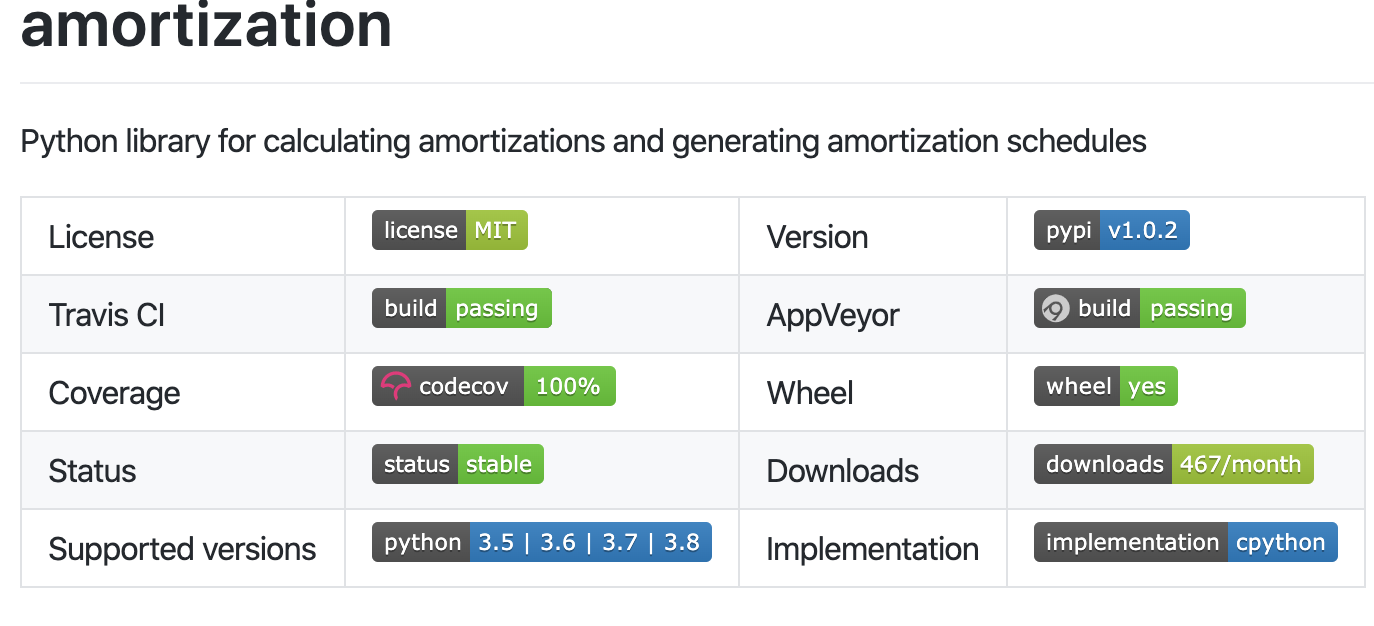
Better README
To add visualization about builds and versions and other information. Use shields provided by Travis CI, CodeCov, etc.
<table>
    <tr>
        <td>License</td>
        <td><img src='https://img.shields.io/pypi/l/amortization.svg'></td>
        <td>Version</td>
        <td><img src='https://img.shields.io/pypi/v/amortization.svg'></td>
    </tr>
    <tr>
        <td>Travis CI</td>
        <td><img src='https://travis-ci.org/roniemartinez/amortization.svg?branch=master'></td>
        <td>Coverage</td>
        <td><img src='https://codecov.io/gh/roniemartinez/amortization/branch/master/graph/badge.svg'></td>
    </tr>
    <tr>
        <td>Wheel</td>
        <td><img src='https://img.shields.io/pypi/wheel/amortization.svg'></td>
        <td>Implementation</td>
        <td><img src='https://img.shields.io/pypi/implementation/amortization.svg'></td>
    </tr>
    <tr>
        <td>Status</td>
        <td><img src='https://img.shields.io/pypi/status/amortization.svg'></td>
        <td>Downloads</td>
        <td><img src='https://img.shields.io/pypi/dm/amortization.svg'></td>
    </tr>
    <tr>
        <td>Supported versions</td>
        <td><img src='https://img.shields.io/pypi/pyversions/amortization.svg'></td>
    </tr>
</table>
These shields will result to a nice looking README.
Test and deploy without hassle
After completing all the above steps, deployment will be easier and faster. Just use git, update your code base and push.
git pushInstalling our open-source library
We can now install and use our Python library easily.
pip install amortizationSince we added an entry point to our setup.py, we can call the package from command line.
% amortization -P 150000 -n 36 -r 0.1 -s
  Number     Amount    Interest    Principal     Balance
--------  ---------  ----------  -----------  ----------
       1  15,501.46   15,000.00       501.46  149,498.54
       2  15,501.46   14,949.85       551.61  148,946.93
       3  15,501.46   14,894.69       606.77  148,340.17
       4  15,501.46   14,834.02       667.44  147,672.73
       5  15,501.46   14,767.27       734.19  146,938.54
       6  15,501.46   14,693.85       807.61  146,130.93
       7  15,501.46   14,613.09       888.37  145,242.57
       8  15,501.46   14,524.26       977.20  144,265.36
       9  15,501.46   14,426.54     1,074.92  143,190.44
      10  15,501.46   14,319.04     1,182.42  142,008.03
      11  15,501.46   14,200.80     1,300.66  140,707.37
      12  15,501.46   14,070.74     1,430.72  139,276.65
      13  15,501.46   13,927.66     1,573.79  137,702.85
      14  15,501.46   13,770.29     1,731.17  135,971.68
      15  15,501.46   13,597.17     1,904.29  134,067.38
      16  15,501.46   13,406.74     2,094.72  131,972.66
      17  15,501.46   13,197.27     2,304.19  129,668.47
      18  15,501.46   12,966.85     2,534.61  127,133.86
      19  15,501.46   12,713.39     2,788.07  124,345.78
      20  15,501.46   12,434.58     3,066.88  121,278.90
      21  15,501.46   12,127.89     3,373.57  117,905.33
      22  15,501.46   11,790.53     3,710.93  114,194.41
      23  15,501.46   11,419.44     4,082.02  110,112.39
      24  15,501.46   11,011.24     4,490.22  105,622.17
      25  15,501.46   10,562.22     4,939.24  100,682.93
      26  15,501.46   10,068.29     5,433.17   95,249.76
      27  15,501.46    9,524.98     5,976.48   89,273.27
      28  15,501.46    8,927.33     6,574.13   82,699.14
      29  15,501.46    8,269.91     7,231.55   75,467.60
      30  15,501.46    7,546.76     7,954.70   67,512.90
      31  15,501.46    6,751.29     8,750.17   58,762.73
      32  15,501.46    5,876.27     9,625.19   49,137.54
      33  15,501.46    4,913.75    10,587.71   38,549.84
      34  15,501.46    3,854.98    11,646.48   26,903.36
      35  15,501.46    2,690.34    12,811.12   14,092.24
      36  15,501.46    1,409.22    14,092.24        0.00
Conclusion
Contributing libraries to PyPI is simple and easy. Open-source tools like Github and Travis CI, reduces time to production.
Source code for this project is available on Github.
In a follow-up article, we will learn how to refactor our Python library and move all the definitions fromsetup.pytosetup.cfg.